If you want to start sowing seeds before your final frost date but don’t have a greenhouse to protect your seedlings, then this article is for you! These mini milk jug greenhouses can give your seedlings a head start so you have more beautiful blooms or more productive vegetables. They’re so effective that even though we now live in a house with a greenhouse, we still use these every year to give us some extra growing room in the busy spring months!
In this article, we’ll cover exactly how to turn an ordinary milk carton into a greenhouse for your seedlings.
Contents
What Are Milk Jug Greenhouses?
Milk-jug greenhouses are essentially mini-greenhouses made from recycled 4 pint milk cartons. They help trap heat and moisture to provide an effective environment for seedlings to germinate and start to grow. Similar to a traditional greenhouse, milk jug greenhouses allow you to start your growing season early and extend it into the colder months.
When Should I Create My Milk Jug Greenhouse?
You can start sowing seeds in your milk jug greenhouse at any time of year, but they’re especially effective before the last frost date in your area. Normally I create my milk jug greenhouses in late February or early March so that my seedlings are ready to be planted out as soon as the last frost date has passed.
How To Create Your Milk Jug Greenhouse
Creating your milk jug greenhouse doesn’t require too many supplies:
- 4 pint milk jugs: Clear ones are preferred but any will do
- Potting soil or seed starter mix
- Duct tape: For sealing the jugs
- Pen: For labelling
- Box cutter / sharp knife: For cutting the jugs and making drainage holes
- Seeds
Once you’ve got the materials ready, just follow these 4 simple steps to create your own milk-jug greenhouse.
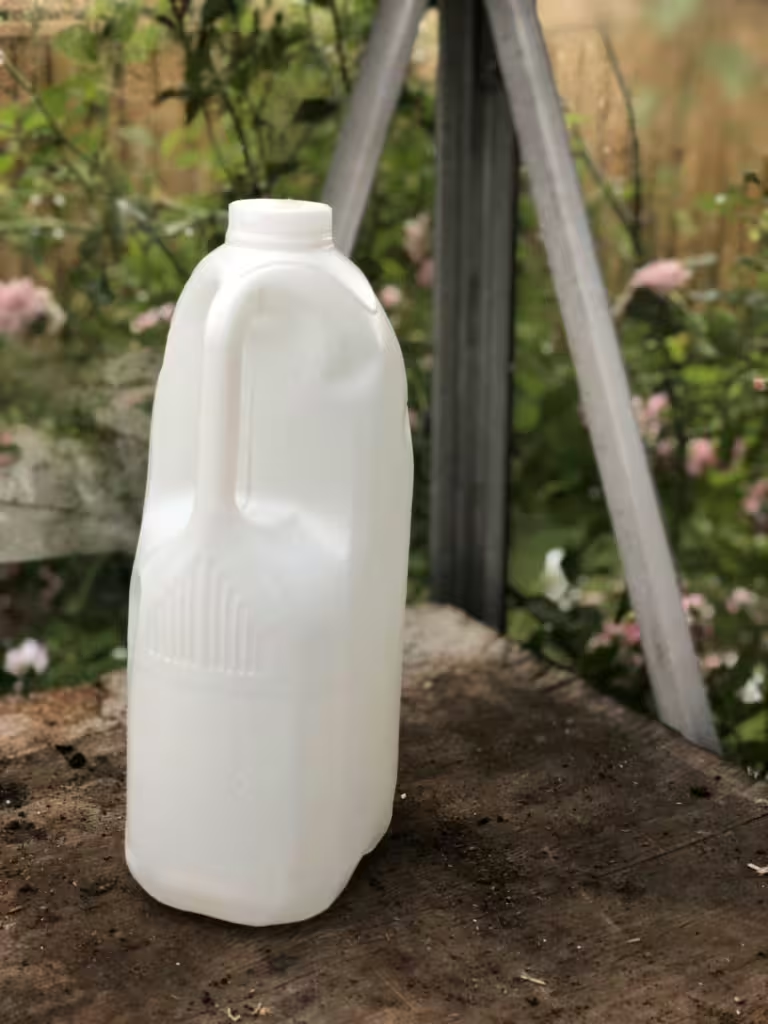
Prepare The Jugs
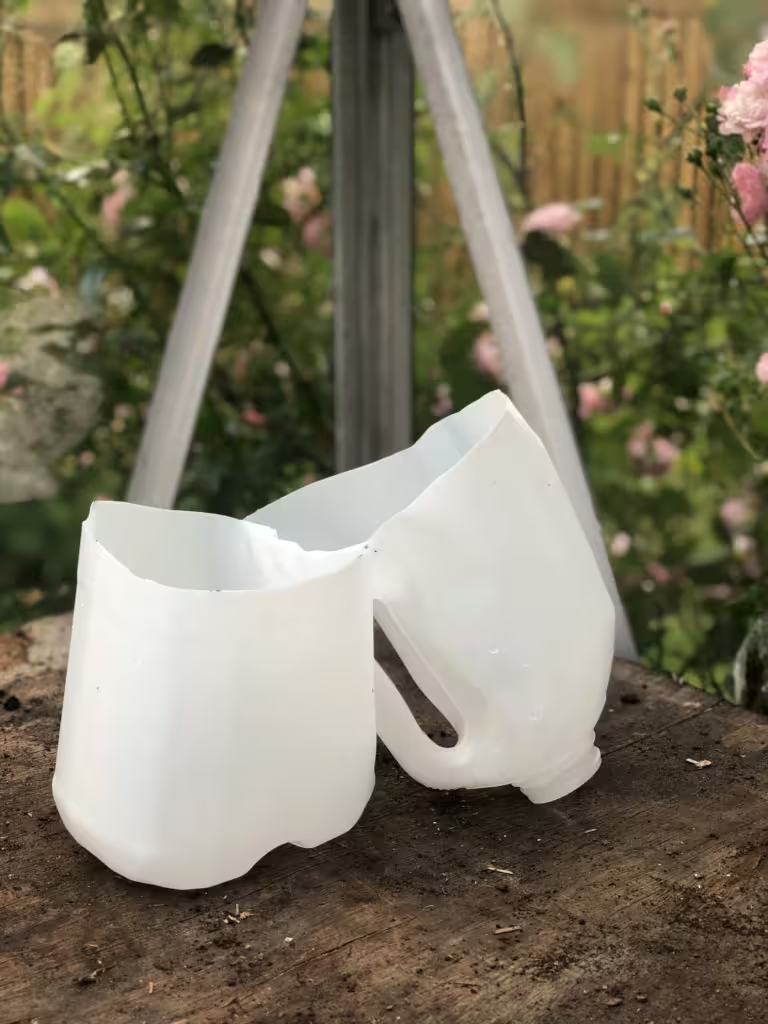
Using a box cutter or sharp knife, carefully cut the jug horizontally about half of the way up, leaving the handle on the top and attached by one side to create a hinged lid.
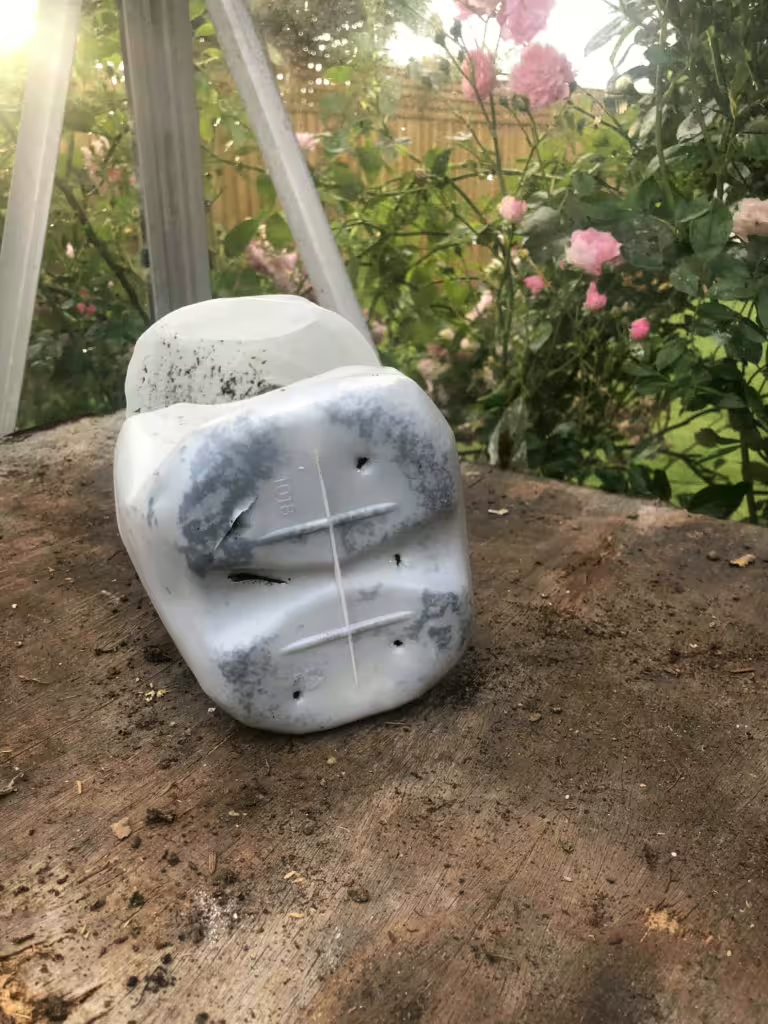
Using your knife, pierce 5 or 6 small holes in the bottom of the larger section of the milk jug to allow water to drain out of the soil.
Add Soil
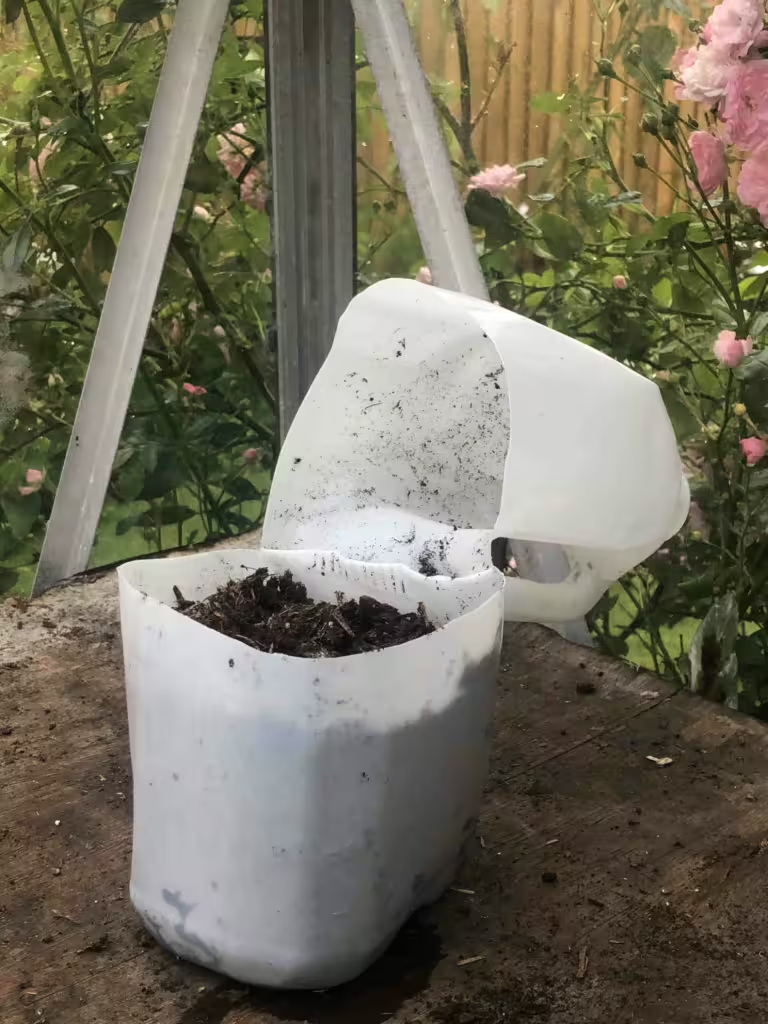
Now it’s time to add the soil to the larger section of the milk jug, on top of the small holes that you just created. Fill the jug until it’s a few centimetres beneath the rim and then water the soil so that it’s nice and moist, but not soggy.
Sow Your Seeds
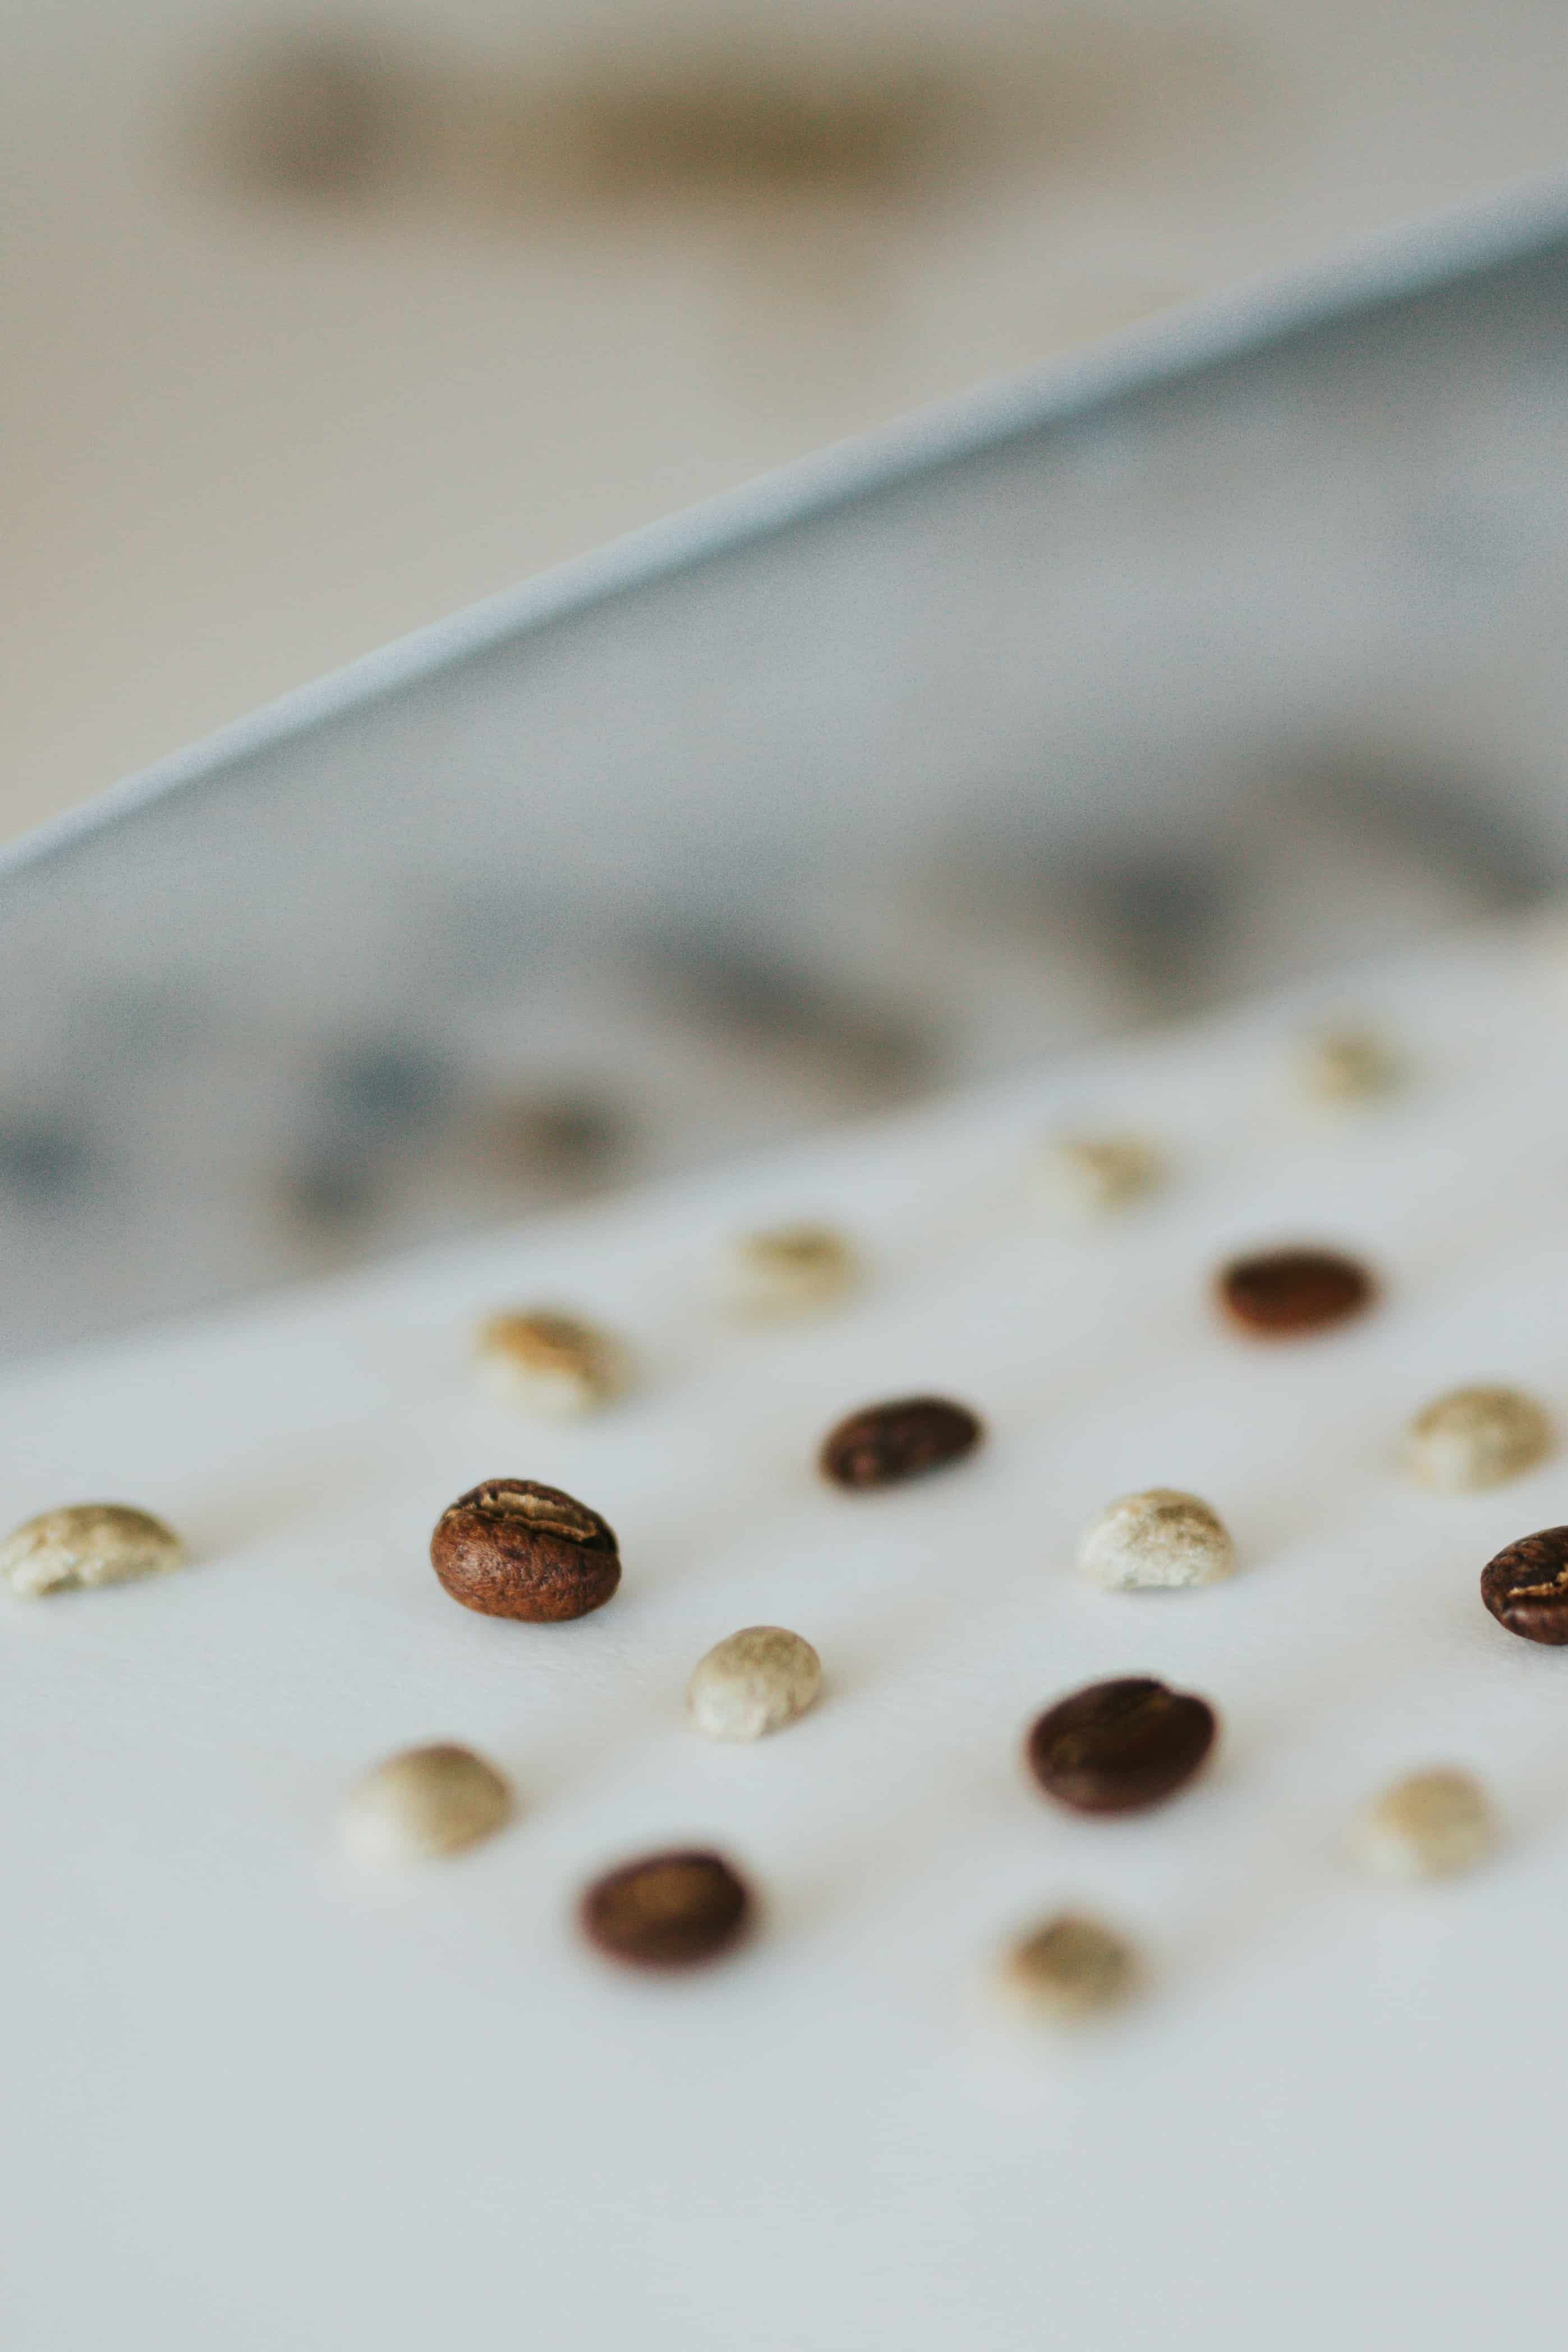
Now it’s time to sow your seeds according to the instructions on the packet. After you’ve done this, you can close the lid and find a safe place to put it outside. You can also add tape around the seal to trap moisture in if your plants need extra humidity. Get your pen and label the jug with what seeds you’ve planted.
place Outdoors
Set the jugs outside in a sunny but undisturbed location so they won’t be knocked over. The open hole where the lid was will allow rain water to enter the jug, keeping the moisture level up, but preventing frost damage.
Caring for Your Seedlings
As spring approaches and the temperatures continue to rise, you can open your jugs to monitor the moisture levels. If there’s a frost warning, simply cover the jugs with a blanket or put the lids back down to keep the seedlings safe.
When the seedlings are ready to transplant in late spring, gently separate them into clumps or individual plants and transfer them to the garden. If they still need more growing time, place them in pots until they are large enough for the ground.
Conclusion
Winter sowing with milk jug greenhouses is an effective and enjoyable way to start your garden early if you don’t have a greenhouse. This method not only saves money by reducing the need to buy plants but also provides hardier seedlings that are well-acclimated to your local climate.
If you’re looking for inspiration for what to grow in your milk jug greenhouse, then take a look at our favourite perennial flowers for balconies or our top 10 shade loving plants.