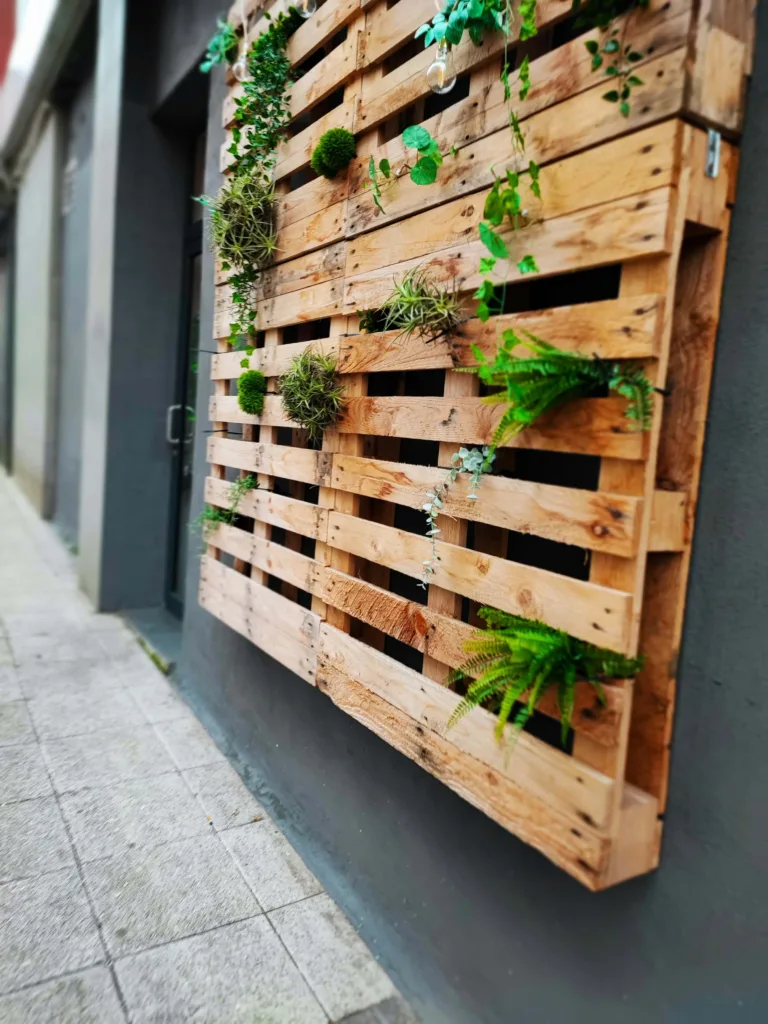
If you’re looking for a cheap and beautiful way to start a vertical garden in your outdoor space, then I’d wholeheartedly recommend reaching for a pallet. Not only are pallets a budget-friendly and easy way to make a vertical garden, but they also offer a rustic look that really complements any style of space.
In this guide, I’ll walk you through everything you need to know so that you can transform a wooden pallet into a thriving vertical garden.
If you’re more of a watcher than a reader, I’d recommend that you take a look at this complete guide by GrowVeg, which walks you through everything that you need to know about creating a vertical pallet garden.
Contents
Why Start a Vertical Garden with a Pallet?
From my experience, starting a vertical garden is great because it’s:
- Space-Saving: Vertical gardens maximise your growing area by utilising vertical space, making them ideal for small gardens
- Cost-Effective: Pallets are often free or incredibly, making this accessible no matter what your budget
- Sustainable: Repurposing an old pallets into a garden reduces waste and gives new life to materials that might otherwise have been discarded
- Customisable: You can tailor the garden to suit your space, plant preferences, and aesthetic desires
- Accessibility: Vertical gardens are easier to manage and harvest than traditional gardens as the plants are closer to waist height, reducing the need to bend over or kneel
If you’re still not convinced, take a look at our article here which covers all of my top reasons for starting a vertical garden.
Materials List
Before you start making your vertical pallet garden, you’ll need to get yourself the following materials:
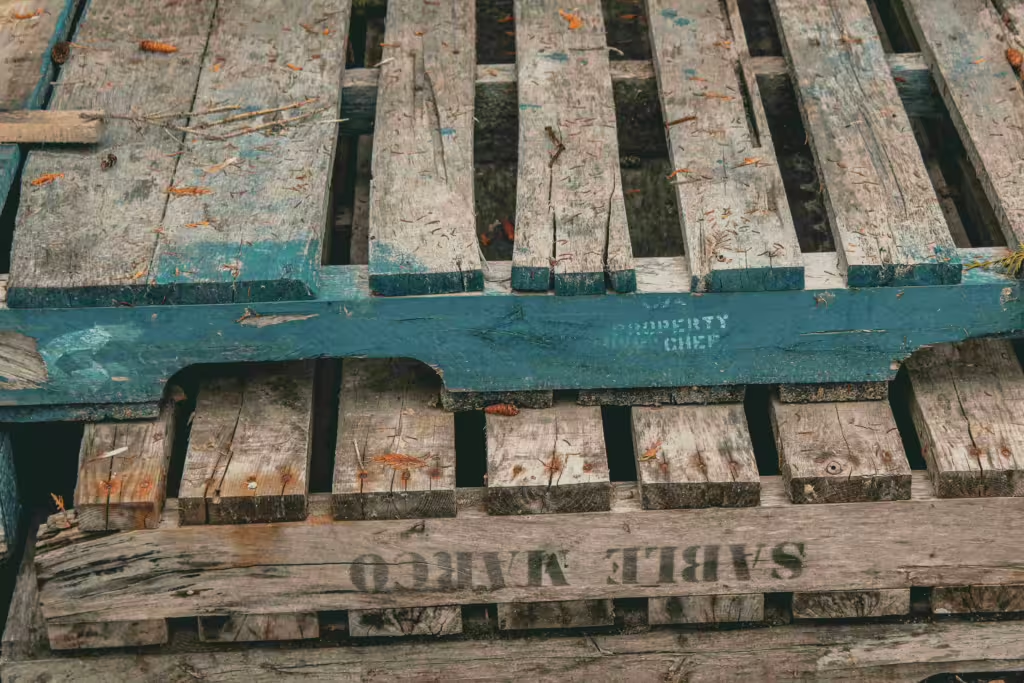
- Wooden Pallet: Make sure it’s clean and untreated
- Landscape Fabric: To prevent soil from seeping out of the bottom of the pallet drawers
- Staple Gun and Staples: To hold the landscape fabric together
- Potting Soil
- Plants (herbs, flowers, vegetables, or succulents): See our recommended plants for a vertical garden here
- Sandpaper
- Drill and Screws (for mounting or reinforcement)
- Compost (optional, for enriching soil)
Creating Your Vertical Pallet Garden
Step 1: Prepare the Pallet
The first step when creating your vertical pallet garden is to prepare the pallet. This involves:
- Cleaning the Pallet: It’s important to give the pallet a thorough clean with soapy water to remove any dirt, debris, or residues from it’s previous life as you don’t want any nasties in your soil. Once clean, let it dry out completely before moving on to the next step
- Sanding the Pallet: Use sandpaper to smooth any rough edges or splinters
- Checking for Stability: Check the pallet for any loose or damaged boards and repair them if necessary
Step 2: Attach the Landscape Fabric
Now that your pallet is ready, it’s time to attach the landscape fabric to keep the soil in place. For each of the drawers in your pallet, measure and cut a piece of landscape fabric that’s large enough to cover the back, bottom, and sides. Then using a staple gun, attach the fabric to the pallet, starting with the back. I recommend being generous with the staples, particularly around the edges and corners, to ensure the fabric is securely in place.
Step 3: Fill the Pallet with Soil
With the fabric in place, it’s time to add the soil into the pallet. Simply move your pallet to the right spot in your garden and fasten it securely to a wall or railing. Then fill each of the drawers of the pallet with high-quality potting mix until it’s just below the top of the wood, pressing it down slowly as you go.
Step 4: Plant Your Pallet Garden
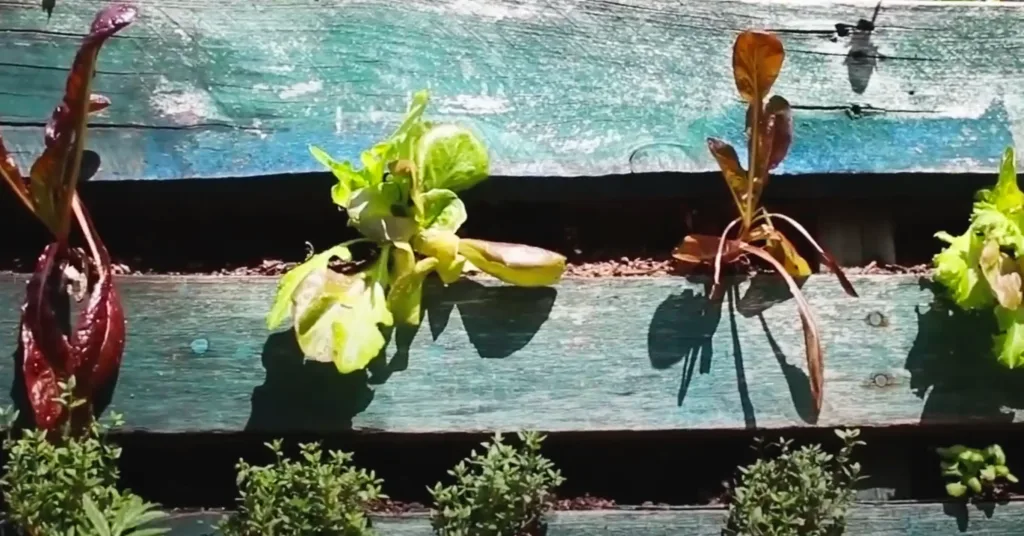
Now it’s time for the exciting bit, adding your plants. It’s important to choose plants that will thrive in shallow soil and that won’t get too large so that they overwhelm your pallet planter. From my experience, herbs, lettuce, strawberries, tomatoes and small flowers work really well. If you want even more inspiration though, take a look at our separate guide on the best plants for your vertical garden.
Once you’ve chosen your plants, start putting them in the soil, starting with the plants on the bottom rung of your pallet and work your way upwards. Gently remove the plants from their nursery pots loosening their roots, before place them into the soil. Then, give them a thorough watering to help the soil to settle.
Pallet Garden Maintenance
To keep your pallet garden looking great, it’s important to give it a check every few months to make sure there aren’t any issues. I’ve found that the main thing you need to keep an eye out for is rot, as constantly moist soil can start to break down old boards, even if they have been coated to prevent it.
If you notice that one of your pallet boards has started to rot, I’d recommend that you replace it as soon as possible to prevent any plant casualties from a board suddenly giving way.
Irrigation Tips
Watering is even more crucial for your vertical garden compared to a traditional garden bed as the soil can dry out quickly. I’d recommend checking whether the soil is moist daily to keep your plants healthy, especially in hot weather. If you’re likely to be unable to water your plants every day, then I’d recommend that you look into setting up a drip irrigation system to help your plants have regular waters.
Conclusion
Making a vertical garden using a pallet is a great way to bring more greenery into your life, even if you’re short on space. You can easily create a beautiful and functional garden that will provide you with fresh herbs, flowers, or vegetables for seasons to come.
If you’re looking to make the most of your pallet garden, take a look at our guide here, or take a look at the best fruit and vegetables to grow in your space.