Vertical gardens are a great way make any outdoor space that you have both look beautiful and produce lots of fruit and vegetables. Whether you have a small balcony, or acres of outdoor space, vertical gardening is a great way get stuck into growing.
As a passionate vertical gardener myself, I’ll be walking you through everything you need to know to get one started in your own garden. So let’s get started.
Contents
Step 1: Choose the Right Location
The first step to creating a great vertical garden is to choose the right location. From my experience, where you put your garden can be the difference between your plants thriving and them dying within a few weeks, so it’s really important.
You need to focus on 3 things when choosing where to put your garden.
- Amount of Light: Most plants, especially fruits and vegetables, need at least 6 hours of sunlight per day in order to grow, meaning that you should find the sunniest spot in your space to put your vertical garden.
- If you can’t find anywhere in your garden that receives more that 6 hours of direct sunlight, then you’ll need to grow more shade-tolerant plants. We’ve got a great list here if you’re interested.
- Space: It’s important to make sure that there’s enough space for your vertical garden and that it’s easy for you to get to for watering and harvesting purposes.
- Surface Type: Vertical gardens can be mounted on a variety of surfaces, including wood, brick, or metal. Make sure that the surface that you’ll mount your vertical garden to can hold the weight of the garden, especially once the soil and plants are added.
Step 2: Choose Your Vertical Gardening Container
Now that you’ve got your location sorted, it’s time to choose the vertical gardening system for you. There are loads of options to choose from, so I’d recommend going to your local garden centre to see what they offer, but in my experience the most popular and effective vertical gardening containers are:
- Wall-Mounted Planters: These come in various shapes and sizes, often in the form of pockets or containers attached directly to the wall. They’re ideal for small plants such as herbs, flowers, and some types of vegetables.
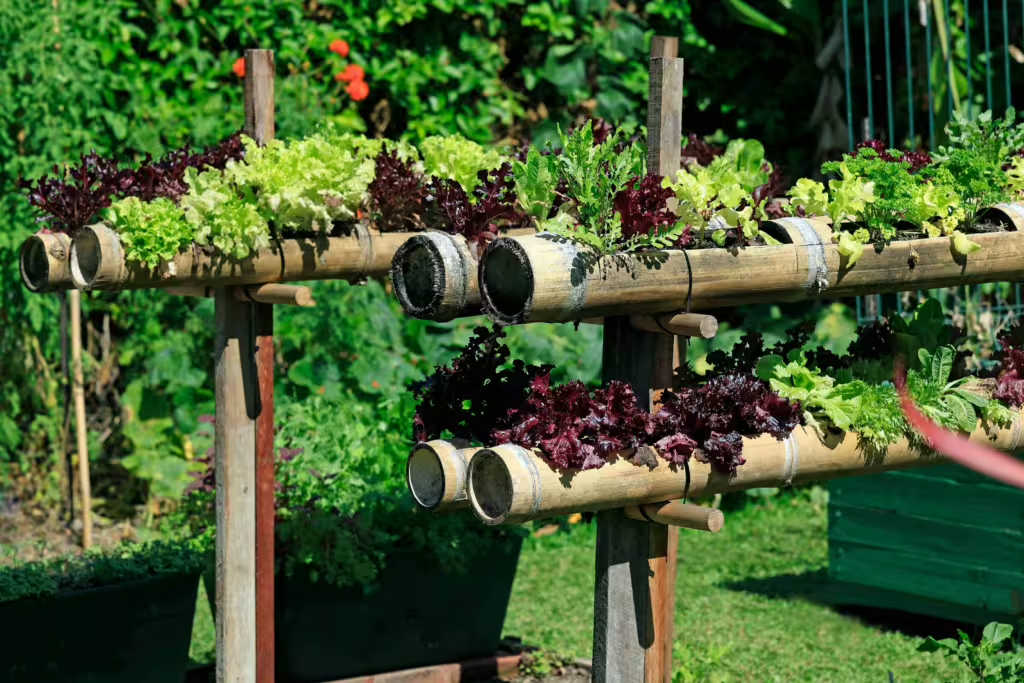
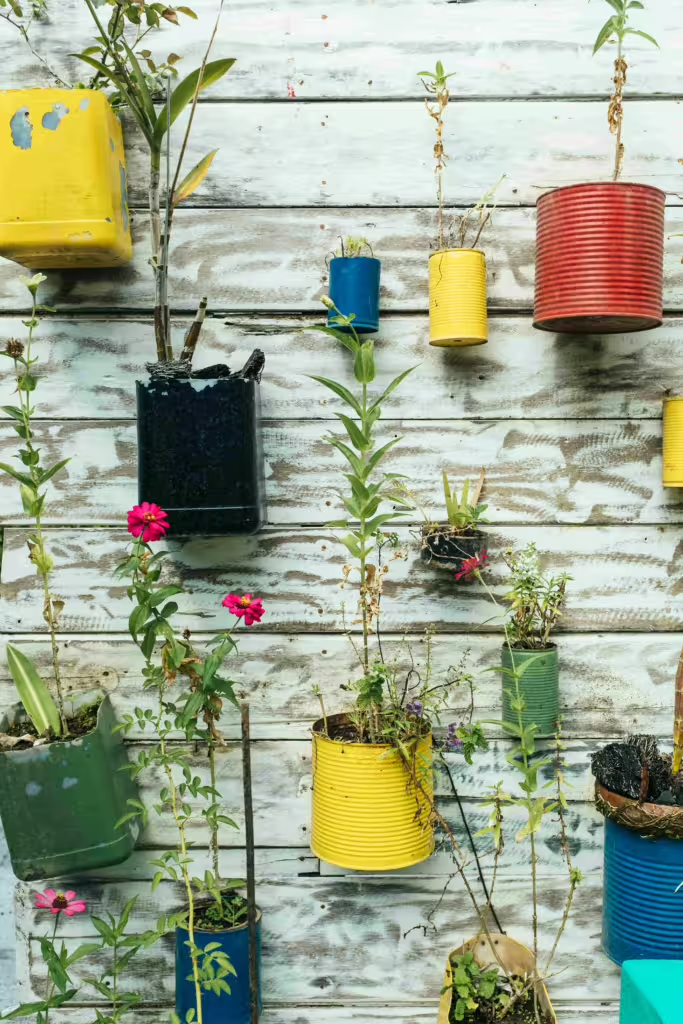
- Pallet Gardens: Wooden pallets can be repurposed to hold plants by adding a backing and filling the spaces with soil. They’re great for herbs, leafy greens, and small flowers.
- Trellises: Perfect for climbing plants like beans, peas, or cucumbers, trellises can be leaned against a wall or secured into the ground to create a free-standing vertical garden.
- Hanging Planters: Ideal for trailing plants like strawberries or tomatoes, handing planters can be hung from ceilings, railings, or wall brackets to make use of your vertical space.
- Modular Systems: These are pre-made kits that often include stackable or interlocking pots and built-in irrigation systems. They’re easy to install and highly customisable.
If you’re looking for more creative ideas, check out our 7 favourite vertical gardening containers in this article.
Step 3: Select Your Plants
Now that you’ve got your vertical gardening containers sorted, it’s time to start thinking about the plants. This is one of the most important steps, as choosing the right plants can mean the difference between a successful garden and a garden that fails after a few weeks.
In general, when choosing plants, you want to consider:
- Plant Size and Growth Habits: It’s incredibly important to choose plants that thrive in the limited space of a vertical garden. I’d recommend opting for compact, bushy plants or climbing varieties, depending on the container you’ve chosen. For example, herbs, strawberries, lettuce, and compact tomatoes are ideal for smaller pockets or pallet gardens, while beans, peas, and cucumbers work thrive on a trellis.
- Sunlight Requirements: It’s important to choose your plants based on how much sunlight they need. As a general guide, I’d recommend putting plants that need more sunlight higher up on your vertical garden, with more shade-tolerant plants, such as ferns and some herbs being placed lower down.
- Companion Planting: Have a look to see whether a plant that you’re growing has a companion plant to support its growth. For example, basil and tomatoes grow really well next to each other as the basil can help to deter pests from the tomatoes.
Step 4: Planting Your Vertical Garden
Now its time for the fun part – bringing your vertical garden to life with planting!
If you’re new to gardening, don’t worry. Just follow these steps to get your plants settled and thriving in their new home.
Preparing the Soil
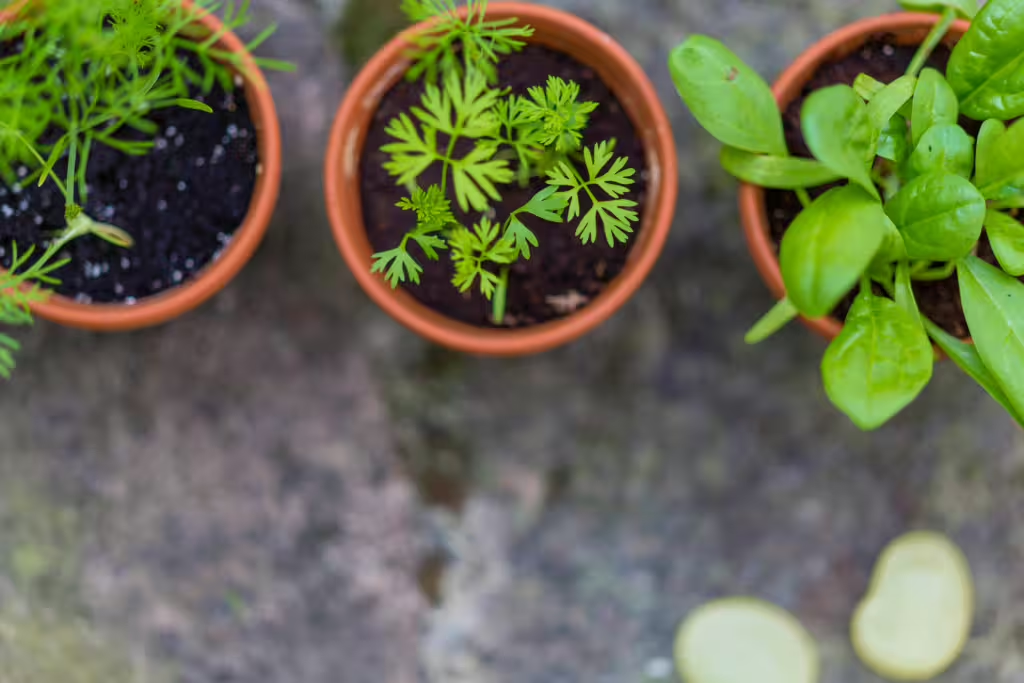
- Choose the Right Soil Mix: Start by selecting a high-quality potting mix that is light, well-draining, and rich in organic matter as this helps your plants to have the nutrients they need to grow quickly.
- Add Compost: If you’re planting vegetables, fruits, or other nutrient-hungry plants, I’d recommend adding some compost to your soil to enrich the earth.
- Fill the Containers: Once you’ve created a healthy soil mix, fill each pocket, pot, or container in your vertical garden, leaving about an inch of space from the top of the pot to prevent watering overflow.
Planting
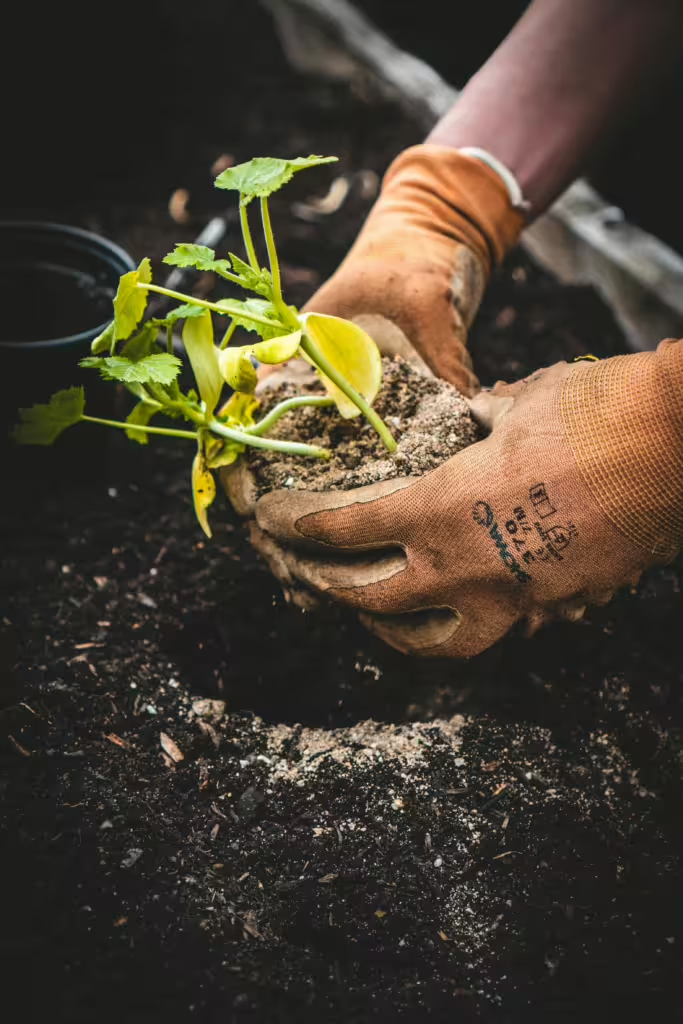
- Prepare Your Plants: Before you start planting, it’s important to take the plant out of its pot and gently loosen its roots to help it to establish in its new home.
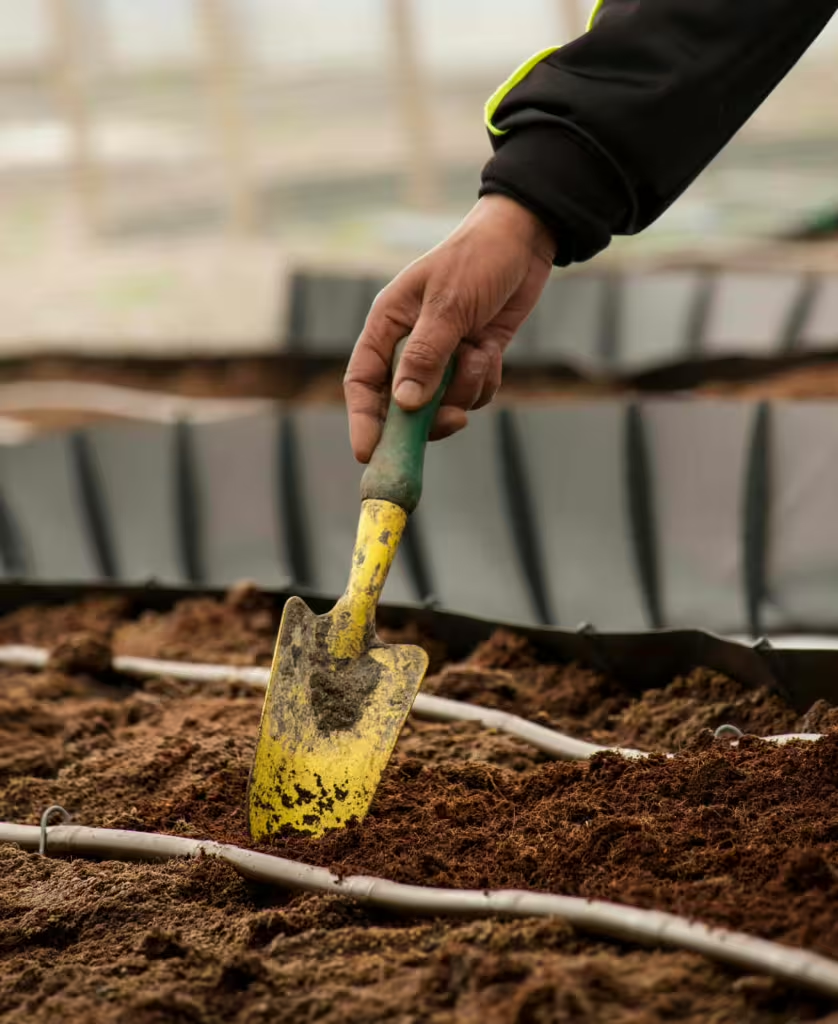
- Dig the Holes: In each pocket or container, use your fingers or a small trowel to create a hole deep enough to accommodate the plant’s root ball.
- Position the Plants: Next, carefully place each plant into its hole. It’s important to make sure that the top of the soil is just proud of the soil in the container to prevent the plant from rotting.
- Firm the Soil: Gently press the soil around the base of the plant to eliminate air pockets and secure the plant.
Step 5: Maintain Your Vertical Garden
After you’ve planted your vertical garden bed, your work isn’t over. Vertical gardens require much more frequent watering than traditional gardens because they can dry out faster. I’d recommend checking the soil moisture daily, especially during hot weather, and watering as needed. If you’re concerned about forgetting to water, then I’d recommend setting up a drip irrigation system or self-watering planters to help you.
Plants in vertical gardens also need regular feeding to thrive, so I’d recommend applying a balanced liquid fertiliser every 2-4 weeks during the growing season to ensure they get the nutrients they need.
Step 6: Enjoy and Expand
Now that you’ve setup your vertical garden, you can stand back and enjoy what you’ve created. As with any gardening projects, it won’t be long until you’re finding ways to optimise and expand your gardening space, so enjoy the journey!
If you’re looking for advice on how to maximise your yield from your vertical garden, you can take a look at our guide here.
Final Thoughts
Creating a vertical garden is one of the most rewarding and transformative projects that you can take on in your garden. By carefully selecting your location, choosing the right system, and maintaining your plants, you can enjoy a thriving vertical garden that gives you both beauty and fresh produce in abundance.
Whether you’re a seasoned gardener or a complete beginner, a vertical garden offers endless possibilities and a chance to connect with nature in a unique and creative way. You can learn more about making the most of your vertical garden by reading our article here. If you need persuading about why a vertical garden is ideal for your space, then take a look of this article.